Aida Fabric Guide: Counts, Sizes, Colors and Cutting
What Aida counts mean, how the count changes the size of a finished design, and how to choose, cut and prepare the fabric before stitching.
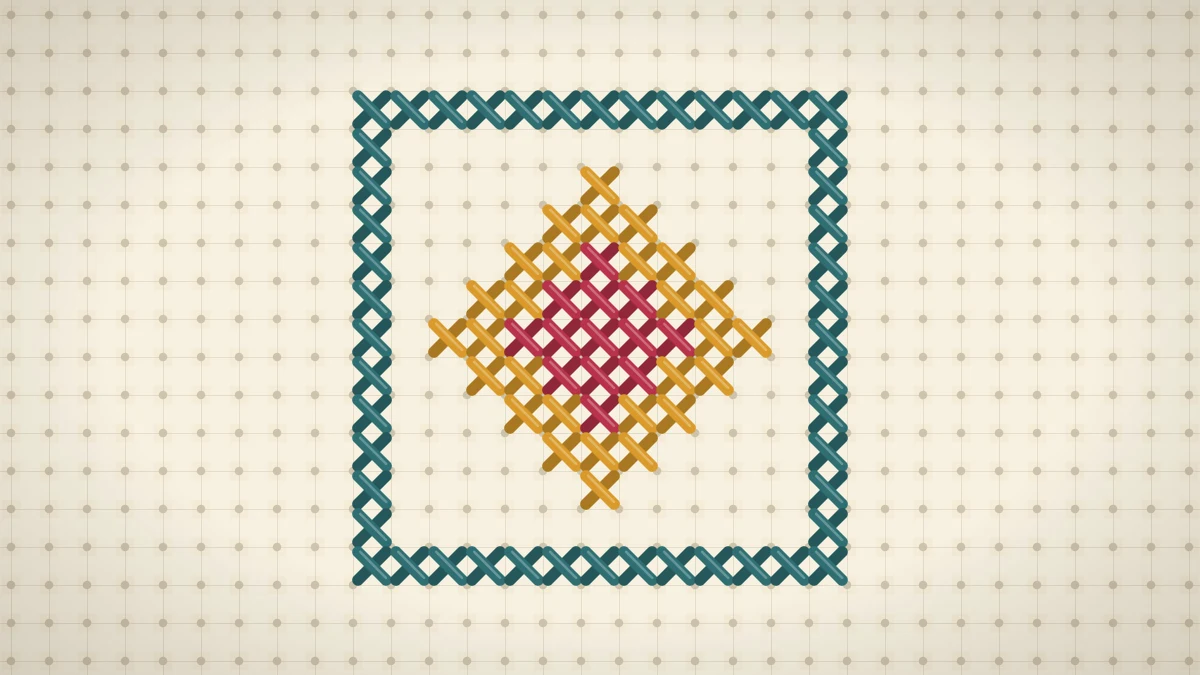
At a glance
Materials
- 14-count Aida with 3 in (8 cm) spare on each side of the design
- Ruler or tape measure
- Fabric scissors
- Sewing thread or low-tack tape for the edges
Aida fabric is the reason cross stitch is so approachable. Its weave forms a grid of small, even blocks with a clear hole at each corner, so every stitch has an obvious place to go and every cross comes out the same size. This guide explains what the count numbers mean, how the count changes the size of a finished design, which colors are easiest to work on, and how to cut and prepare a piece before the first stitch.
What Aida Is and Why Beginners Use It
Most woven fabric has threads running singly over and under each other. Aida groups its threads into little bundles, and the bundles are woven so that they form squares. Each square is one block, and each block takes one cross stitch. The needle goes into the holes at the corners and never has to pierce the fabric itself.
Aida is usually cotton and is fairly stiff when new. That stiffness is helpful: the fabric holds its shape in the hand, the holes stay open, and small projects can be stitched without a hoop. If you have not stitched before, how to start cross stitch shows the first cross on a piece of Aida, step by step.
Aida Counts Explained
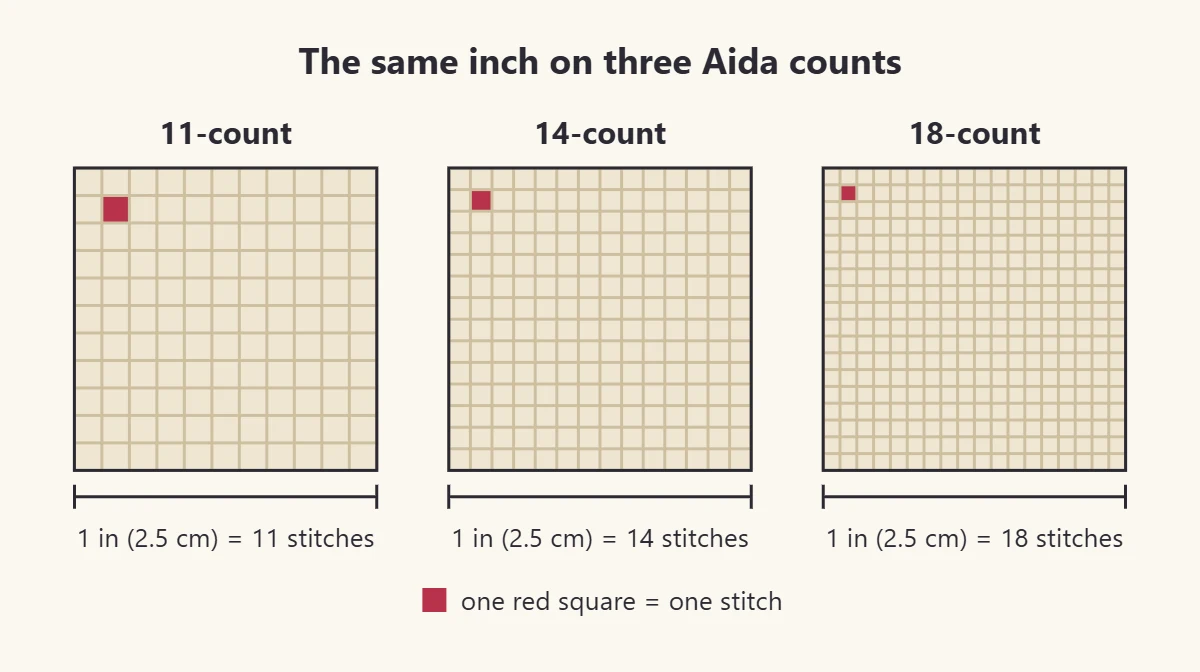
The count is the number of blocks, and therefore stitches, in one inch (2.5 cm) of fabric. A higher count means smaller blocks, smaller stitches and a finer, more detailed look. A lower count means bigger blocks that are easier to see.
| Aida count | Stitches per inch | Usual strands of floss | Tapestry needle | Good for |
|---|---|---|---|---|
| 11-count | 11 | 3 | Size 22 | Large, bold stitches; easy to see |
| 14-count | 14 | 2 | Size 24 | First projects and most patterns |
| 16-count | 16 | 2 | Size 26 | A slightly finer, denser finish |
| 18-count | 18 | 1 or 2 | Size 26 | Small, detailed work |
14-count is the usual beginner fabric. The holes are easy to find, two strands of floss cover the blocks well, and most charts are written with it in mind. The matching needle and thread choices are covered in more depth in the guides to cross stitch needles and embroidery floss.
How Count Changes the Finished Size
A chart has a fixed number of stitches, but its size in inches depends entirely on the fabric. The rule is one line long:
Finished size in inches = number of stitches ÷ fabric count.
Take a design that is 28 stitches wide and 28 stitches tall:
- On 11-count it is about 2.5 in (6.5 cm) square.
- On 14-count it is 2 in (5 cm) square.
- On 16-count it is 1.75 in (4.4 cm) square.
- On 18-count it is about 1.6 in (4 cm) square.
Work out width and height separately when a design is not square. Doing this small calculation before cutting is the surest way to avoid running out of fabric at one edge, and it also tells you whether the finished piece will fit the hoop, frame or card you have in mind.
Choosing a Color
White and off-white or cream are the classic choices, and they suit almost any palette. Pale fabrics also make the holes easy to see, which matters most while you are learning.
Colored Aida can do some of the work of a background. A soft blue behind a bird or a pale green behind flowers saves stitching a filled background and gives the piece a finished look. Two things are worth checking before you commit:
- Contrast. Lay the floss on the fabric. Any thread color close to the fabric color will disappear once stitched.
- Visibility. Dark fabrics hide their own holes. Good light helps, and so does resting a pale cloth on your lap so that the holes show up as light dots.
Cutting Aida with Margins
Never cut the fabric to the size of the design. Add 2–3 in (5–8 cm) of spare fabric on every side. The margin gives you something to hold, room for a hoop to grip, and enough fabric to stretch, lace or fold when the piece is finished.

- Work out the finished size of the design from the stitch count and the fabric count.
- Add the margin twice to the width and twice to the height, once for each side. The 2 in (5 cm) design above, with 3 in (8 cm) margins, needs a piece 8 in (20 cm) square.
- Cut along a row of holes. Following one line of holes with the scissors keeps the edge straight and square with the weave.
Tip
If the finished piece is going into a hoop or frame, measure that first and make sure the margins are generous enough to wrap around the back. It is easy to trim extra fabric later and impossible to add it.
Preparing the Edges
Cut edges of Aida shed threads as the fabric is handled. On a small, quick project this hardly matters, but on anything that will be worked over several weeks it is worth securing the edges first. Common methods are:
- Overcasting by hand. A simple whipstitch over the edge with ordinary sewing thread holds the weave in place.
- A machine zigzag. A line of zigzag stitch along each edge is fast and durable.
- Pinking shears. A zigzag cut slows fraying, though it will not stop it entirely.
- Tape. Low-tack tape folded over the edges is quick. It can leave residue, so use it only on margins that will be trimmed away afterward.
Then find the center by folding the fabric in half both ways. The method, and how to count out from the center accurately, is described in counting cross stitch.
Handling and Storing Aida
Stitch with clean, dry hands and avoid hand cream just before a session, since oils mark pale fabric. Between sessions, roll the work rather than folding it; sharp creases in stiff Aida take effort to press out. If you use a hoop, take the fabric out when you stop for the day so the ring does not leave a lasting mark.
Watch out
Check the count of any unlabeled fabric before using it. Lay a ruler along a row of blocks and count how many fit in one inch. Guessing wrong changes the finished size of the whole design.
Unused Aida keeps best flat or loosely rolled, away from damp and direct sunlight, with a note of its count attached. When a piece is stitched and ready to display, how to finish cross stitch in a hoop covers washing, pressing and mounting.
Frequently asked questions
What Aida count is best for beginners?
14-count is the usual starting point. The blocks and holes are easy to see, two strands of floss give good coverage, and most patterns assume it. 11-count is a good alternative for anyone who prefers larger stitches.
Does Aida have a right side and a wrong side?
Aida looks nearly the same on both faces, and either can be used. If one face appears slightly smoother or more even to you, stitch on that one. What matters is using the same face for the whole project.
How do I know what count my Aida is?
Lay a ruler along a straight row of blocks and count the blocks in exactly one inch. That number is the count. Measure a second inch elsewhere on the piece to confirm before working out the size of a design.
Can I use the same chart on a different count?
Yes. The chart does not change, only the finished size. Divide the stitch count by the new fabric count to get the size in inches, and adjust the number of floss strands and the needle size to suit the new fabric.


